-
Data Dictionary:
-
With the use of pre-existing datasets, a new data dictionary can be produced. It enables you to create new datasets while reusing the existing ones and incorporating new features.
-
By leveraging the preexisting datasets, the Data Dictionary facilitates the creation of new datasets. It is a feature of the product selection screen for Rubiscape.
-
To generate new datasets, it makes use of the Data Joining functionality. Join operations can be applied to any two types of datasets.
-
Using Data Dictionary functions, you may add a calculated field to the dataset, add enumeration for the values, and establish a hierarchy of features in the dataset.
-
The data dictionary can be used in the same way as any other dataset. All possible operations on a dataset are available for execution.
-
Workbooks can use the data dictionary to build several models. It can also be used to generate data visualizations in other programs, like RubiSight.
-
To create the Data Dictionary, we have to follow the following steps:
-
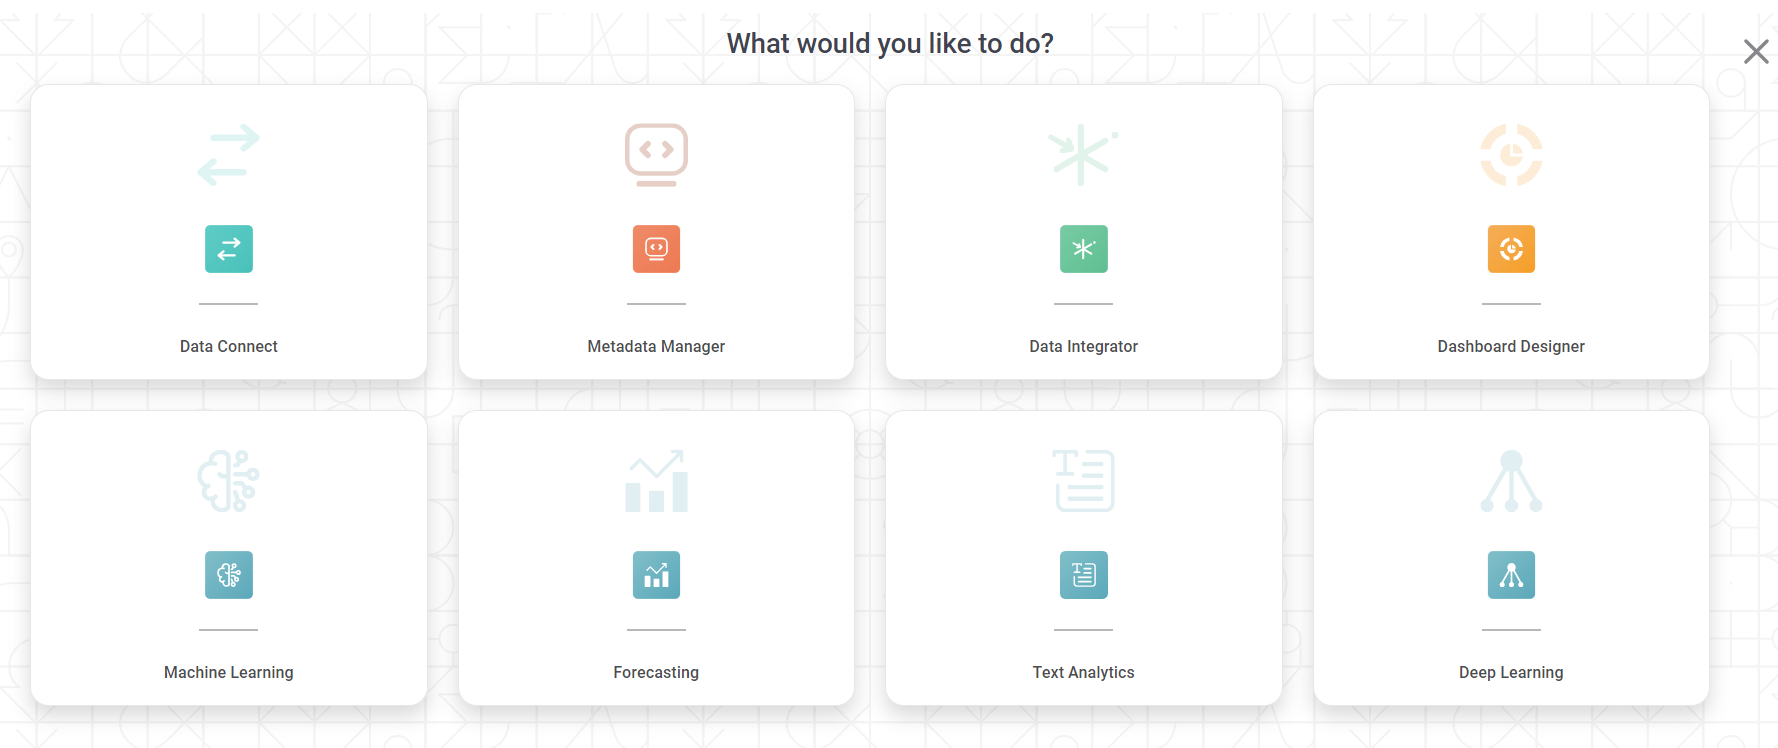
Click the Create icon on the main page. It opens the Product Selection page.
-
Click Create Data Dictionary after hovering over the Metadata Manager.
-
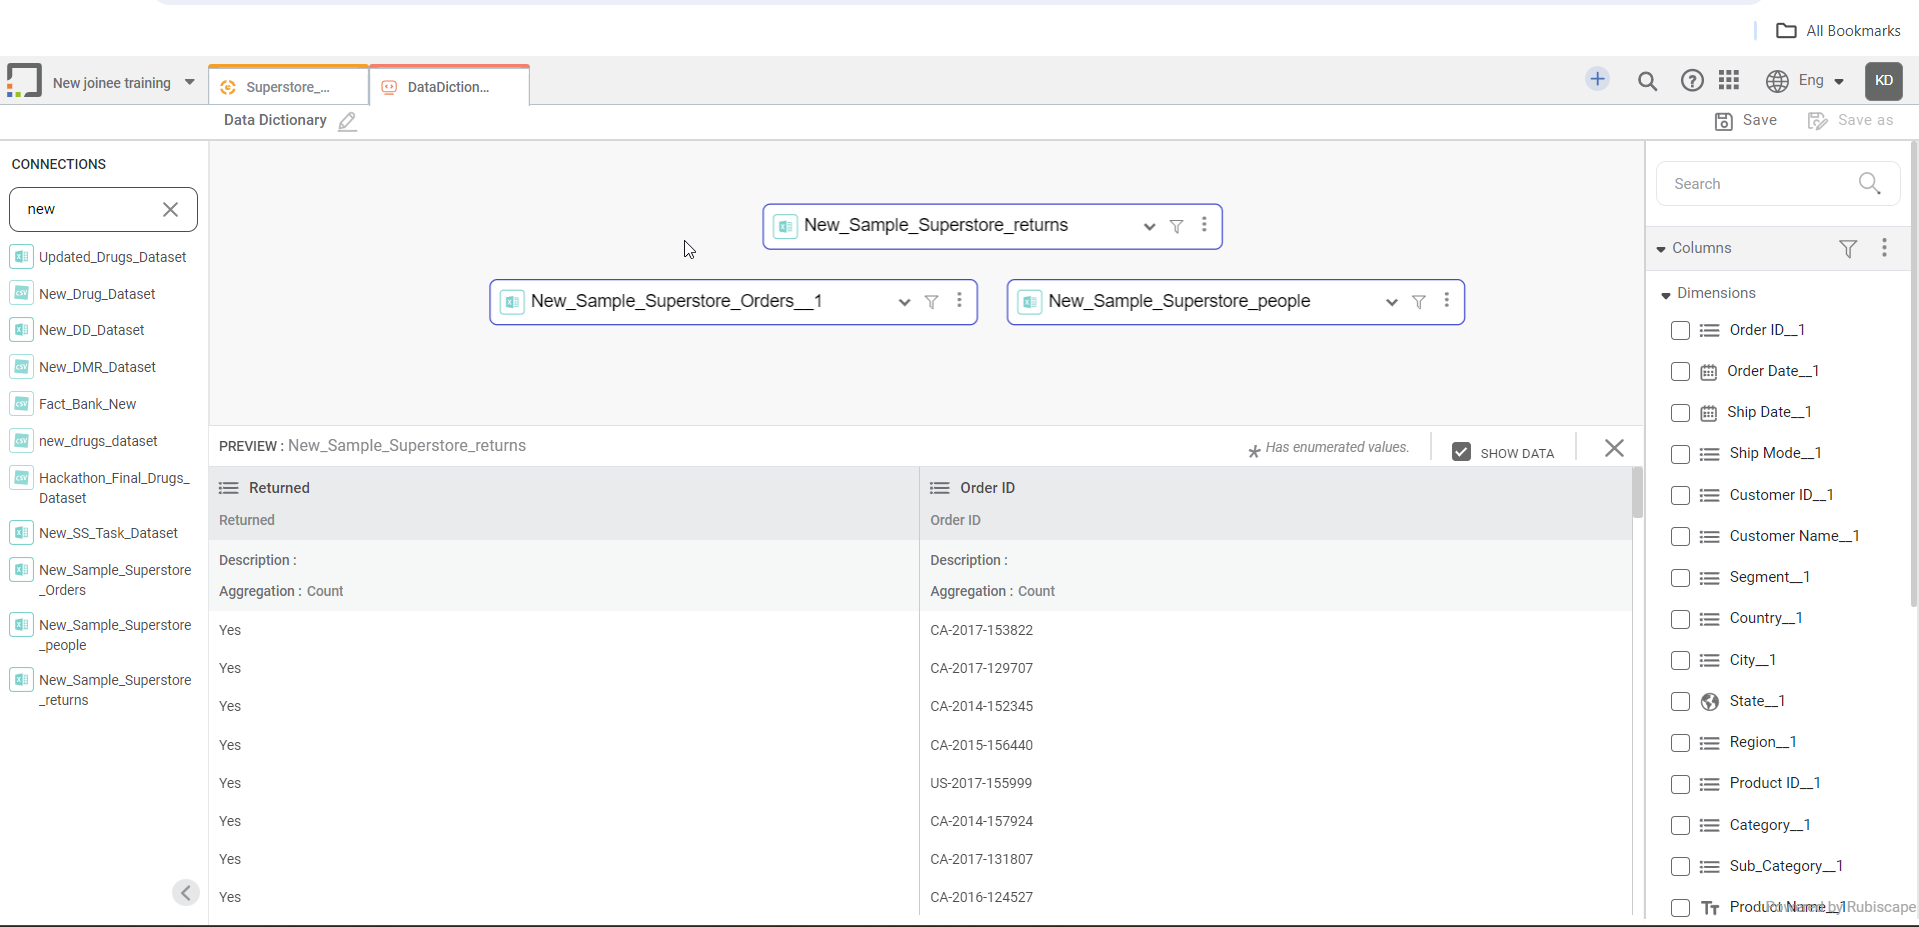
The Data Dictionary page is displayed and we can see all the available features provided by Rubisight Platform.
-
The connections tab shows us all the available datasets on the Platform, the Preview tab available at the bottom of the page shows a preview of the dataset, the columns tab on the right side of the page shows the available columns in the dataset and we can also add Calculated Column and filter the data from the Columns Tab, and the Hierarchy option shows us the available hierarchies in the dataset. We can also create a hierarchy here.
-
After selecting the dataset from the connections tab, we can see the selected datasets on the Canvas and we can also filter the Dataset using the Filter option on the Table and add a calculated column if needed.
-
The filtering options provided by Rubisight are filtering based on Features or Filtering the dataset based on the various functions available on the platform.
-
The various types of filtering functions available on the platform are Comparison functions, Constant Functions, Logical Functions, and Filter Functions.
-
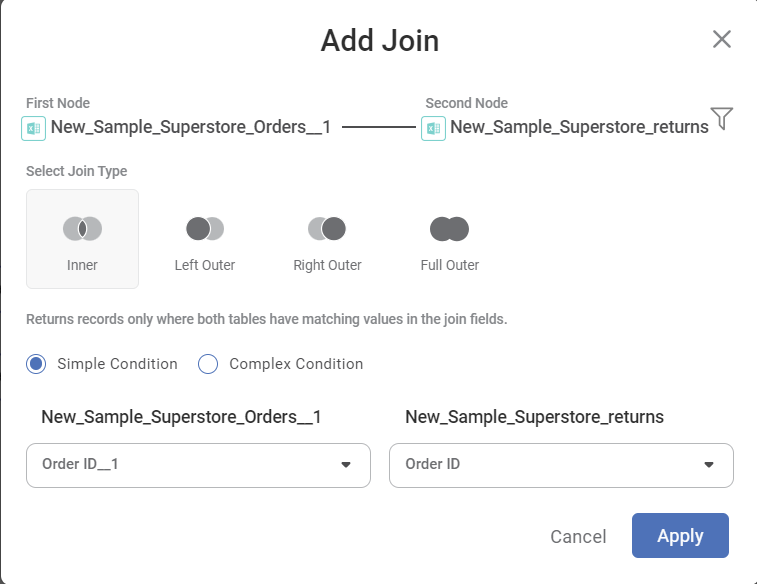
We can create connections between two datasets using the connection nodes available on the datasets and joining the node of one dataset to another.
-
It will open the Add Join Page and we can select the variable on which we want to join the two tables.
-
The dataset can be joined using the various types of joins available and we can also join the table based on simple conditions or based on some complex condition.
-
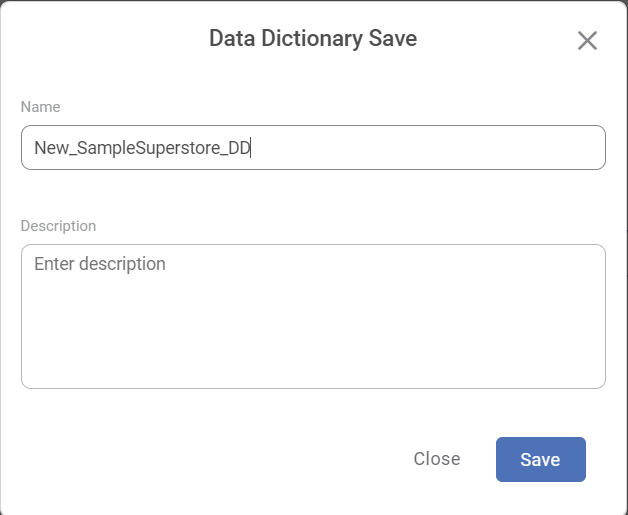
We can save the Data Dictionary using the save option available on the right side of the page above the columns tab.
-
-
Workflow:
-
In Rubisight, workflows represent automated processes that chain together multiple tasks or actions. They allow you to perform complex data analysis and manipulation without manual intervention, saving you time and effort. Here’s a breakdown of key points about Rubisight workflows:
-
Purpose:
- Automate repetitive tasks, like data cleaning, transformation, and analysis.
- Build complex data pipelines involving multiple steps.
- Improve efficiency and consistency in the data processing.
- Reduce the chance of human error.
-
Components:
- Nodes: Represent individual tasks within the workflow, such as data import, filtering, calculations, and visualizations.
- Connections: Define the order in which nodes are executed, creating the workflow flow.
- Parameters: Allows you to customize the workflow behavior by dynamically adjusting values.
-
Creating a Workflow:
-
We can create a Workflow either by going to the Product Selection Tab or by clicking the plus icon on the Data Dictionary Page.
-
Creating a Workflow from the Product Selection:
-
Click the Create icon on the main page.
-
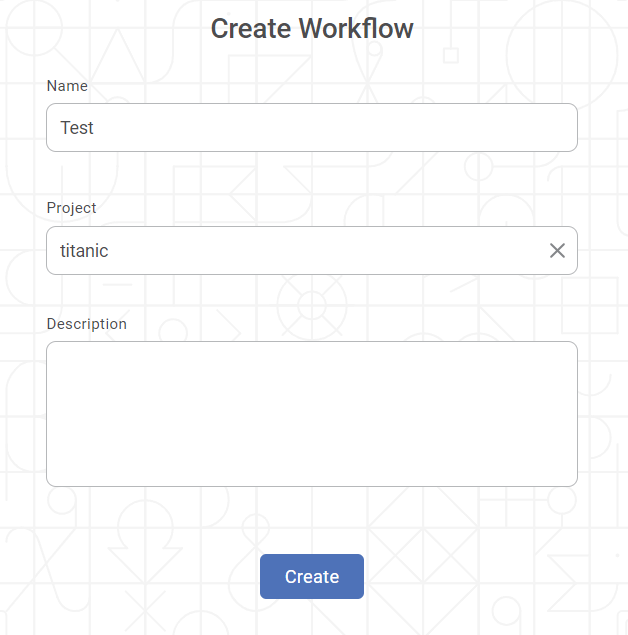
Click the “Create Workflow” button after hovering over the Data Integrator tile.
-
Enter the Name for your workflow.
-
Enter the name in the Project field to create a new project.
-
Enter the Description for your workflow.
-
Review all fields and click Create.
-
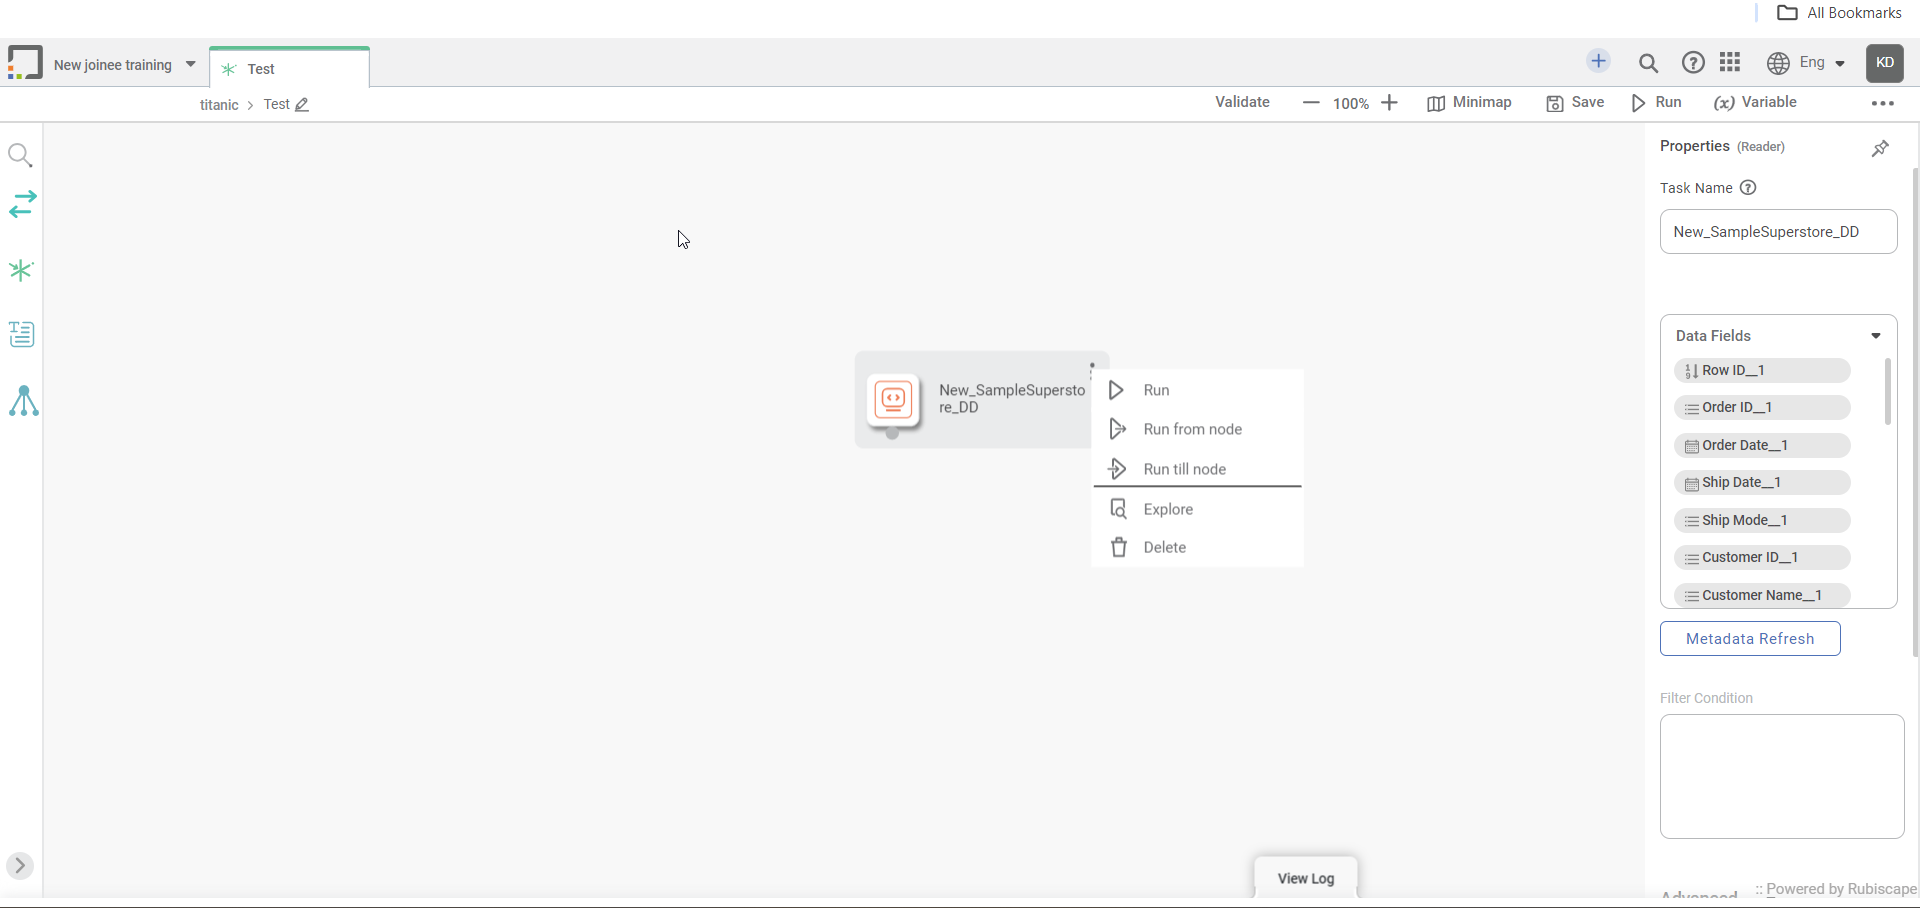
From the above image we can see the User Interface of the Workflow page.
-
From here we can run the node directly or either from the node and we also have the option to see the Data Fields on the right side of the page.
2 Likes